
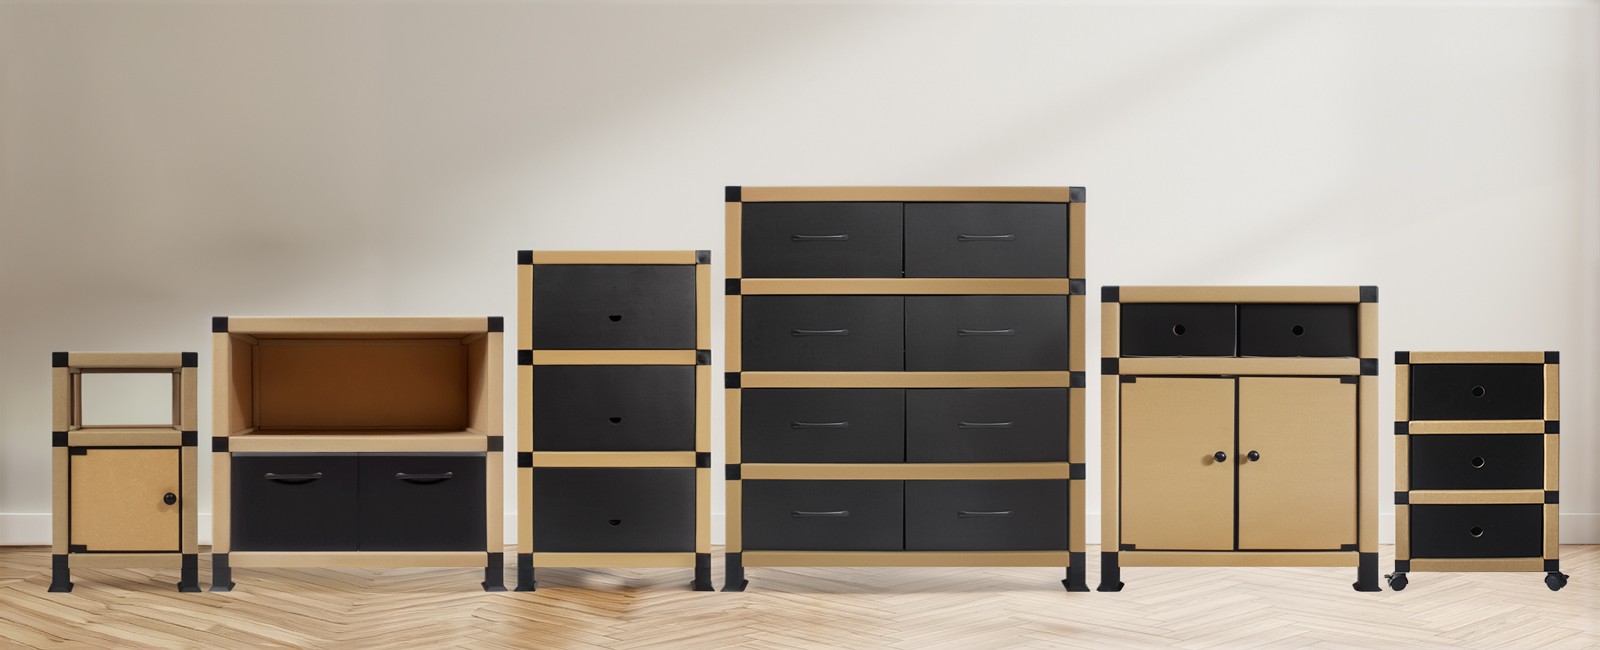
A paper home organizer offers a lightweight, eco-friendly way to sort books, toys, crafts, and household supplies. But because it is made from kraft paper tubes, reinforced paper panels, and polypropylene connectors, many owners wonder whether it can be cleaned the same way as traditional wood or plastic shelving. The short answer is yes, and the process is simpler than you might think. Paper furniture is engineered to handle everyday dust, minor spills, and regular use, you just need to follow a few straightforward steps to keep it looking fresh without damaging the material.
Before diving into cleaning techniques, it helps to understand what your organizer is made of. MINHOU UNIMAX constructs its organizers from high-strength kraft paper that undergoes a special surface treatment for water and stain resistance. The structural components include rigid paper tubes, reinforced panels, and multi-prong PP connectors that hold everything together without glue or tools. This means the surfaces are more durable than raw cardboard, but the paper-based core still requires a gentler approach than solid wood or metal furniture.
Gather these common household items before you start:
Start with dry cleaning, which is the safest method for any paper-based furniture. Use a dry microfibre cloth to wipe down all exterior surfaces, working from top to bottom so dust falls downward. For the interior of each cube or shelf compartment, run a soft-bristled brush along the corners where dust tends to collect. If your recyclable home organizer has been in place for a while, a handheld vacuum with a brush attachment makes quick work of accumulated dust inside the compartments. Keep the suction low and let the brush do the work rather than pressing the nozzle directly against the paper surface.
Once loose dust is removed, you can address surface grime with a lightly dampened cloth. The key word here is lightly. Soak your microfibre cloth or sponge in warm water, then wring it out thoroughly until it is barely damp to the touch. Wipe each panel and tube gently, following the grain of the paper. Because the kraft paper used in these organizers receives a water-resistant surface treatment, a small amount of moisture will not cause immediate damage. However, you should never soak the surface or let water pool in any area. After wiping, go over the same surfaces with a dry cloth to remove any residual moisture right away.
Different stains call for different approaches. Here is how to handle the most common ones:
Sprinkle cornstarch or talcum powder directly onto the stain and let it sit for several hours, ideally overnight. The powder draws oil out of the paper fibers naturally. Afterward, brush off the powder gently with a soft brush. Repeat the process if the stain is still visible. This method avoids introducing any liquid to the affected area.
Dip a cotton swab lightly in rubbing alcohol. The swab should be damp, not dripping. Gently blot the ink mark from the outer edge inward to prevent spreading. Use a fresh swab for each blot. Rubbing alcohol evaporates quickly, which keeps moisture exposure to a minimum. Avoid rubbing back and forth, as this can push the ink deeper into the paper fibers.
Act quickly. Use a dry cloth or paper towel to blot up as much liquid as possible by pressing firmly. Do not rub. For any remaining mark, dampen a cloth very slightly with warm water and a tiny drop of mild dish soap. Blot the stain gently, then immediately dry the area with a clean cloth. Speed is important here because the longer a liquid sits on the surface, the more likely it is to penetrate the protective coating.
The polypropylene connectors and universal wheels on mobile organizer models collect dust in their joints. Wipe connectors with a damp cloth and dry them immediately. For wheels, pull out any hair or fibers wrapped around the axle, then wipe the wheel surface with a damp cloth. If a wheel becomes stiff, check for debris lodged in the housing and remove it with a toothpick. Avoid applying oil or lubricants to the wheels, as these can seep into the paper tubes nearby and cause staining.
If your organizer has absorbed odors from the items it stores, baking soda is an effective and safe solution. Empty the affected compartment, place a small open container of baking soda inside, and leave it for two to three days. For stronger smells, you can place the organizer in a well-ventilated room with open windows on a dry day. Fresh air circulation does wonders for paper-based materials. Avoid using perfume sprays or chemical air fresheners directly on the paper surfaces, as these can leave residues that attract more dust over time.
If you notice fuzzy or powdery spots on your organizer, mold may have developed due to excess humidity. Take the organizer outdoors on a dry day and brush off visible mold gently with a soft brush. Dispose of the debris in a sealed bag. For remaining spots, lightly dab the area with a cotton swab barely moistened with rubbing alcohol. The alcohol kills mold spores and evaporates rapidly. After treatment, let the organizer air out completely before bringing it back inside. To prevent mold from returning, address the root cause by reducing indoor humidity.
Keeping your paper furniture in good shape is easier with a few preventive habits:
If you need to store your organizer for an extended period, disassemble it following the same tool-free process you used to build it. Flat-pack the paper tubes, panels, and connectors separately in their original cartons if possible. Store the cartons in a dry, climate-controlled space away from direct sunlight and concrete floors. Placing desiccant packets inside the storage carton helps absorb any trace moisture. When you reassemble the organizer later, inspect each component for signs of wear before putting it back into use.
With proper care, a paper home organizer typically lasts one to five years depending on the level of use and the environment. Under favorable conditions, the service life can exceed five years. Because the components are modular and individually replaceable, you do not need to discard the entire unit if a single panel or tube becomes damaged. Contact the manufacturer for replacement parts rather than attempting to patch structural elements with tape or glue, which can compromise both appearance and strength.
Cleaning a paper home organizer comes down to five principles: dry clean first, use minimal moisture, treat stains by type, protect against humidity, and maintain the structure regularly. Because the kraft paper used in these organizers receives a water-resistant surface treatment, routine cleaning is quick and hassle-free. A microfibre cloth, a soft brush, and occasional spot treatment with mild soap are all you need to keep your organizer looking and functioning like new. By following these steps, you can extend the life of your furniture and enjoy the same lightweight, sustainable storage solution for years to come.
