
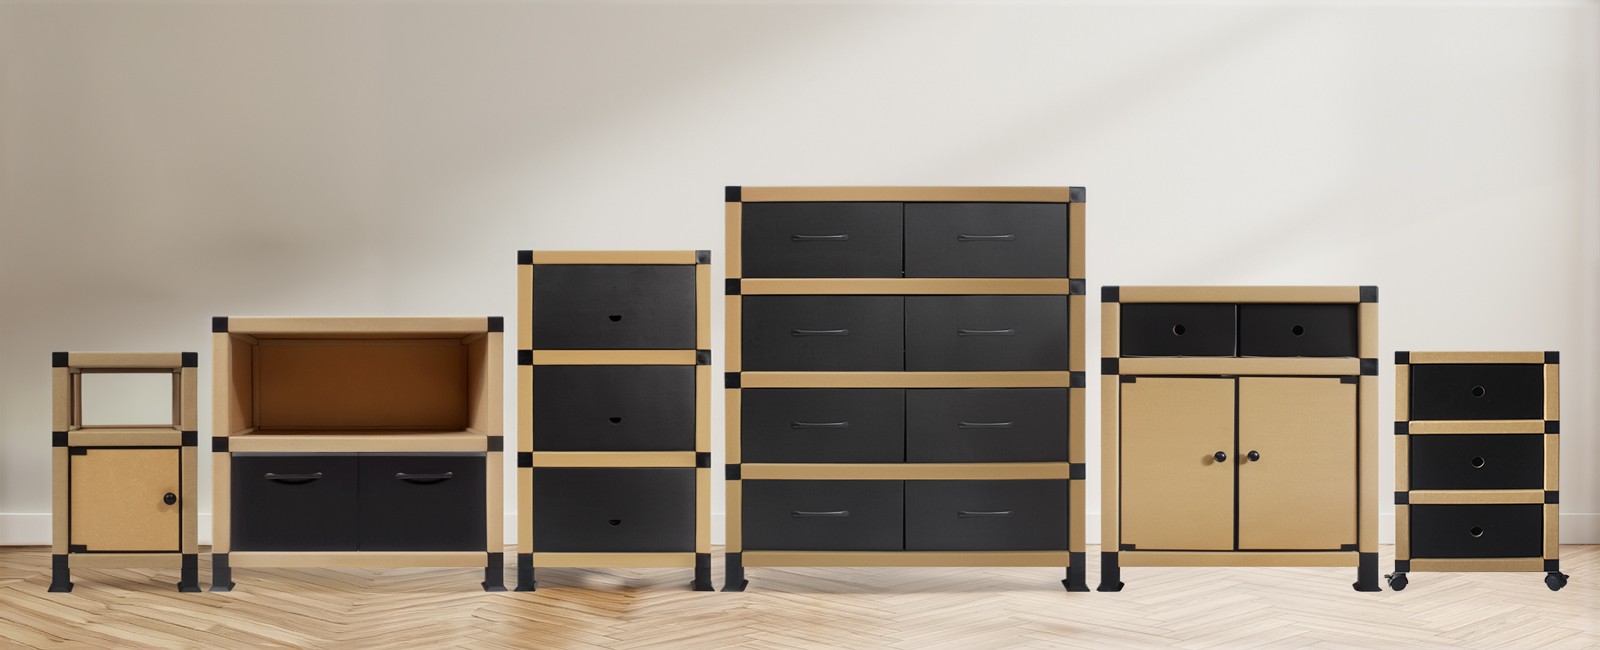
Yes, you can absolutely decorate a paper multi-storage organizer with universal wheels. In fact, one of the greatest advantages of paper-based furniture is that its surface accepts a wide variety of decorative treatments — from paint and decoupage to fabric wraps and washi tape. Because the organizer is built from high-strength kraft paper tubes and reinforced panels, it provides a sturdy yet customizable canvas that lets you match any room aesthetic without sacrificing mobility or function.
Before diving into decoration techniques, it helps to understand what the surface of a paper home organizer actually looks like. MINHOU UNIMAX constructs its organizers from specially treated high-strength kraft paper. The paper undergoes a surface treatment for water and stain resistance, and the structural frame relies on patented multi-prong polypropylene connectors that hold everything together without tools.
This means you are working with a surface that is:
Knowing these properties helps you pick the right materials and avoid techniques that might peel, bubble, or add unnecessary weight.
Wipe down every panel you plan to decorate with a slightly damp microfiber cloth to remove dust and manufacturing residue. Let the surface dry completely — usually 10 to 15 minutes — before applying any paint or adhesive. The water-resistant coating means a quick wipe will not soak into the paper, but standing water should still be avoided.
One benefit of tool-free assembly furniture is that you can take it apart in minutes. Lay the panels flat on a protected work surface. Decorating flat panels is far easier than trying to paint or apply decals on a standing, three-dimensional unit. Keep track of the PP connectors and note the assembly order so reassembly goes smoothly.
Sketch your idea on paper first. Decide which panels get full coverage, which get accents, and which stay plain. Planning prevents over-decoration, which can make a wheeled organizer look cluttered and may interfere with the drawer slides or wheel housings.
Acrylic craft paint adheres well to treated kraft paper surfaces. For the best result, apply a thin coat of acrylic gesso or primer first — this creates a uniform base and helps the color pop. Use a foam roller for large, even areas and a detail brush for edges and patterns.
Decoupage is one of the most effective ways to personalize paper furniture. Cut decorative paper — patterned scrapbook paper, magazine cutouts, maps, or even wrapping paper — to fit the panel dimensions. Apply a layer of Mod Podge or similar decoupage medium to the panel, position your decorative paper, smooth out air bubbles with a brayer or credit card, and seal with a top coat.
Because the organizer panels are flat and rectangular, you can achieve clean, professional-looking results even as a beginner. Geometric patterns, floral prints, and ombre color blocks all work particularly well on storage units.
For a textured, warm look, wrap panels in fabric. Cotton, linen, and burlap all bond well to paper surfaces using spray adhesive or fabric glue. Cut the fabric slightly larger than the panel, fold the edges over, and glue them to the back for a clean, finished border. This technique adds tactile richness without significant weight.
Washi tape is ideal for quick, low-commitment decoration. Use it to create borders, stripes, chevron patterns, or color-coded drawer labels. Because washi tape is removable, you can change the look seasonally without damaging the underlying surface.
Self-adhesive vinyl decals offer another non-permanent option. Cut shapes with a craft knife or use pre-made stickers to add motifs — stars, leaves, monograms — to drawer fronts and side panels.
Transform a drawer front or side panel into a writable surface with chalkboard or whiteboard paint. This is especially practical for a rolling organizer that moves between rooms — label each drawer's contents in chalk and erase when the contents change. Two coats are usually sufficient for a smooth, writable finish.
Use adhesive stencils to paint repeating patterns — damask, lattice, botanical motifs — onto panel surfaces. Secure the stencil flat against the paper, dab (do not brush) paint through the openings with a foam pouncer, and peel the stencil away while the paint is still wet to prevent peeling.
Decorating a wheeled unit involves a few extra considerations that a stationary piece does not:
| Factor | What to Keep in Mind |
|---|---|
| Wheel area | Avoid decorating the bottom edges where wheels attach. Paint or fabric near the wheel housings can interfere with rotation or get scuffed during movement. |
| Drawer function | If the organizer has paper drawers, keep decoration on the drawer front only. Adding material to the drawer sides or bottom can change the fit and cause sticking. |
| Weight | Paper furniture stays light by design. Heavy layers of paint, thick fabric, or multiple coats of varnish add up. Keep total added weight modest so the universal wheels still glide smoothly. |
| Edge protection | Edges are the most vulnerable part of any paper panel. Reinforce decorated edges with washi tape, ribbon, or a line of clear sealant to prevent corner peeling when the unit bumps doorframes. |
| Moisture exposure | If the organizer will be used in a kitchen, bathroom, or humid room, seal your decoration with a clear water-based varnish. This protects both the paint and the underlying water-resistant coating. |
The beauty of a customizable paper furniture system is that the same organizer can look completely different depending on how you finish it. Here are a few style directions:
Once you have decorated your organizer, a little ongoing care will keep it looking fresh:
This is a common concern, and the answer is reassuring: standard decorative treatments — paint, decoupage, fabric, tape, and sealants — do not compromise the load-bearing capacity of the organizer. The structural strength comes from the high-strength paper tubes and the connector system, not from the surface coating. As long as you avoid soaking the panels in liquid during application and keep added weight reasonable, the unit will perform just as it did before decoration.
Decorating a paper multi-storage organizer with universal wheels is not only possible — it is one of the most rewarding DIY projects you can undertake with sustainable furniture. The combination of sturdy kraft paper construction, water-resistant surface treatment, and tool-free modular design gives you a blank slate that accepts nearly any decoration technique. Whether you prefer painted patterns, decoupaged prints, fabric wraps, or simple washi-tape accents, you can transform a practical rolling storage unit into a personalized statement piece that moves wherever you need it.
By choosing the right materials, planning your design, and respecting a few structural boundaries around wheels and drawer slides, you will end up with a one-of-a-kind organizer that is as beautiful as it is useful — and entirely eco-friendly from core to coating.
